|
Click to recommend this page:
| |
 Introduction
People often associate long exposures (or long shutter speeds) with
night photography. What is overlooked are the amazing photos
you can get with longer shutter speeds, ranging from 1/15 of a second
up to many hours. What's more, these aren't tricky, and don't require
sophisticated cameras and lenses. Because of the techniques associated
with shooting at varying lengths of (longer) shutter speeds, I break them
down into three categories: Shorter exposures, which go from about 1/20th
of a second to several seconds, medium exposures, which go up to about
a minute, and long exposures, which can be indefinitely long.
 Shorter Length Exposures
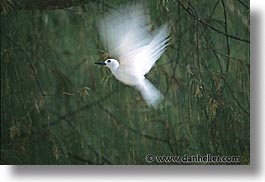
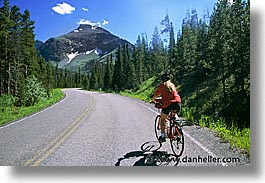
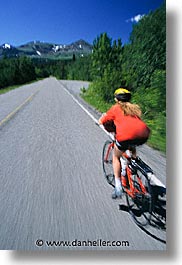
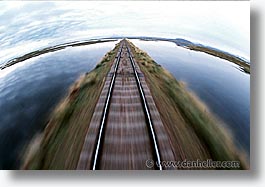
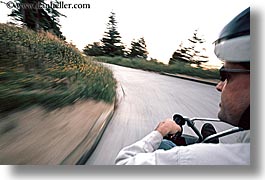
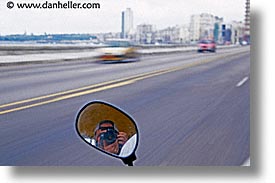
"Shorter" versions of extended exposures are those where you typically
want to capture motion blur of an object or action. You may either
be shooting from a moving object (such as riding a bike, horse,
roller coaster), or you may be in a stationary position taking a picture
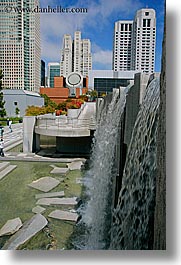
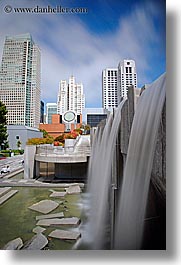
of a moving object (like birds, horses, a bike rider, waterfalls,
fireworks, fog). What each of these cases have in common is (most
typically) the fact that they take place during the day. This means you
have a lot of light available, and when there's a lot of light, your
camera's shutter speed tends to be pretty fast. One way to slow down
the shutter speed while maintaining the overall exposure balance is to
use a very small aperture, also called "stopping down." The smaller the
hole, the less the light, the longer the shutter speed to get the light.
Technically, this isn't rocket science. The challenge is the composition.
Because things are in motion, it's hard to frame your picture in real-time
conditions that change so quickly, and deciding when to release the shutter.
Expect to shoot many pictures of the same thing, hoping that one great
shot will appear. One hint about composition is to pay attention to the
direction of motion, since that will be the theme of the picture.
Straight lines, curved motion, forward, backward. It's all about
leading the viewer's eye from a starting point to an endpoint. It may
be subtly implied, or very direct, but it's the motion itself that you
want to convey.
When shooting from a stationery position, something else in the scene
must also be stationary, or the effect is lost. Hence, it is necessary
to keep the lens stable during the exposure to keep those stationary
objects still. For 1/8 of a second or so, one "can", with enough practice,
learn to be relatively still, but even then, it still requires repeated
shooting. If you're on a train, for example, you can use a tripod.
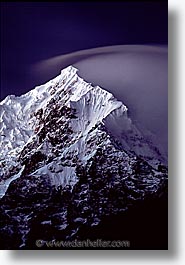
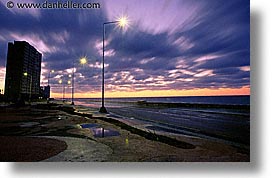
Moving clouds are also excellent subjects for extended exposures. For example,
this photo of Mount Veronica, Peru, shows how clouds appear when they move
over mountains. Shooting just about any night scene with moving clouds can
produce interesting effects, but be careful not to expose for too long.
Given enough time, the whites of the clouds will eventually pass by all the
open spaces in the sky (even if it's never entirely overcast), losing the
"swoosh" effect.
 Medium Length Exposures
Medium length exposures include those up to a minute or so, and are
therefore the most common type of long-exposure work. The only thing
required is a tripod or other sturdy object. Dusk, dawn and many nite
scenes in cities (or traffic) are excellent candidates for these types
images, because there is ambient light to fill in the shadows, which
balance out the highlights. (Traffic at nite is one of my favorite
subjects.)
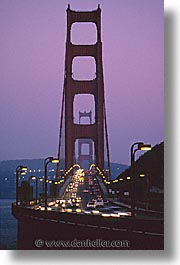
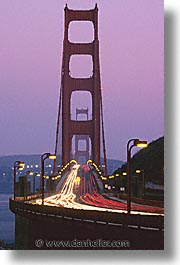
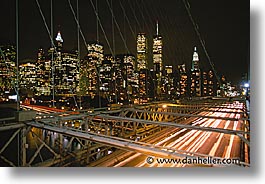
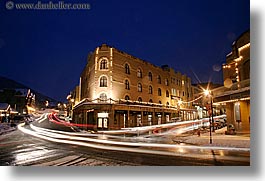
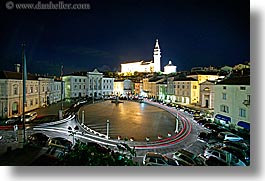
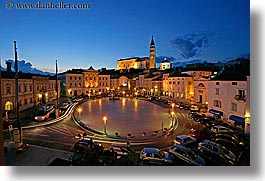
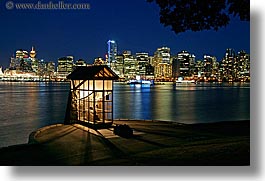
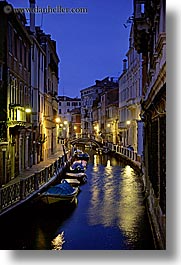
As these photos illustrate, streaking lights from cars show a sense of
motion, and are immediately appealing. The longer the exposure, the
longer the car headlights streak. There are many ways you can play with
this effect, and as you get more familiar with the process, you can
experiment with the timing; when you start and stop such exposures has
a great impact on the final result.
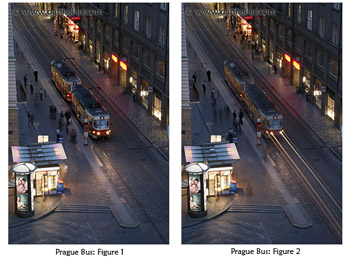
For example, consider the pair of images of the stopped bus. Both were
exposed the same amount of time: 30 seconds. However, the headlights for
the bus on right-hand image appear to "beam" forward. This is because the
bus was stationary for the first 25 seconds before it began to move in the
last five seconds. The brightness of the headlights were captured, but the
bus' movement isn't captured because it doesn't emit enough light itself
(other than its headlights) to affect the longer-term imprint that already
took place. A shorter exposure might not have provided enough time to
imprint the stationary bus, and would have also allowed the brief time it
was moving to have a more pronounced imprint. To successfully capture this
effect, experimentation is critical. (It took about an hour to experiment
with this—mostly involving having to wait for another bus to come by.)
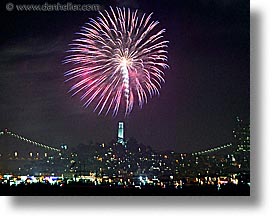
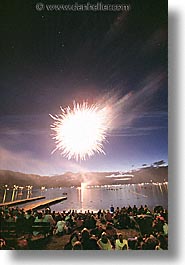
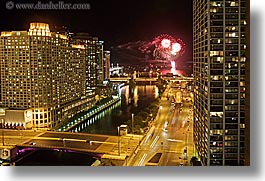
A favorite subject among amateurs is fireworks. While beautiful, they can
be highly unpredictable, so again, prepare to shoot many frames with more
bad pictures than good ones. The main problem is figuring out what exposure
to use. If it's too long, the fireworks themselves overexpose, and if it's
too short, all you get is fireworks, and no background (context). The
only solution to this is shoot for the background—that is, expose as if
it's a nite shot—and try to time your shutter releases so that the fireworks
are either at the beginning, or the very end of the exposure. You'll have
to shoot at least one picture of the scene without any fireworks, just to
gauge what your base-line "nite" exposure is. Once you have that, you can
time the fireworks accordingly. (That is, attempt to have the fireworks
either be at the first or last 5 seconds of (say) a 30-second shot, for
example.) This way, the basic scene will come out right, and the amount
of light from the burst won't be over-exposed. You want at least a second
of it (and up to about five seconds) to get the "motion" of the sparks,
or the photo probably won't come out pleasing. Again, experiment to taste.
Clearly, it's a lottery game to determine when the operator is going to
let off the next one, and it's not even worth shooting when he lets them off
back to back (unless you like the abstract/artsie look). Except for those
situations, I'll shoot every moment of a one-hour fireworks display and be
lucky if I come up with five good shots. And if there's a strong wind—forget
it. Similarly, the smoke can become a visual eyesore if there isn't
enough circulation to cycle it out during the performance.
I always try to compose fireworks to have some sort of foreground
(the people watching them, nearby buildings or landscape). As you know,
fireworks involve bursts, flashes, and streaks, which are all over the
map for making good exposures. Getting an "even" look involves timing.
And that is governed by your noticing how the fireworks are spaced apart
from one another.
The challenge for obtaining long exposures in the daytime is how to reduce
the amount of bright daylight to allow for a longer exposure. Stopping
down your aperture (as was done for the shorter exposures) won't be enough
for these, because you need to block even more light. The solution is
to use a neutral density (A.K.A., "ND") filter. These filters are tinted
with a "neutral" color, serving no other purpose than to reduce the total
amount of light into the camera. ND Filters come in many configurations,
from one stop of light, up to thirteen stops, where each "stop"
doubles the amount of time of your exposure because it blocks twice as
much light as the previous stop. So, a picture that would normally taken
at f16 @ 1/30 second can turn into a 30-second exposure with a 10-stop
ND filter. People have been known to photograph the sun traveling across
the sky all day using two 13-stop ND filters stacked on top of each other.
I usually carry with me a 5-stop and a 10-stop ND filter. And that's where
the fun begins for things like waterfalls or fog, to name two examples.
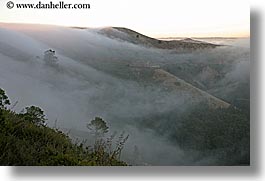
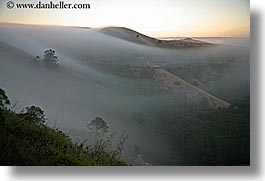
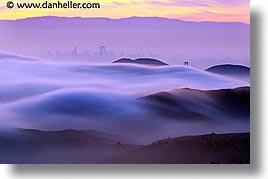
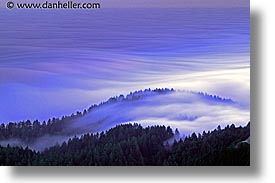
Fog is rarely motionless, so it is often a great subject for extended
exposures because its movement often appears as "flowing cream" when low
to the ground. (You tend not to get this effect if the fog is hovering;
this type of photo is best shot when you're away from the fog.)
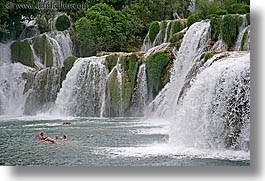
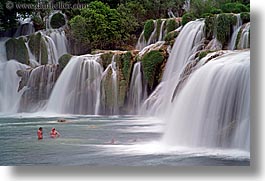
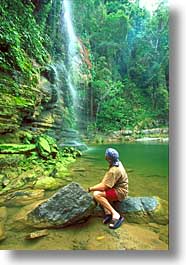
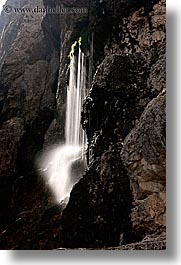
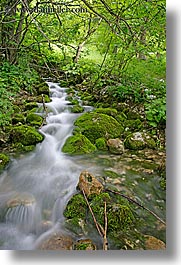
Flowing water has a similar effect as fog, and it's much easier to find.
Whether a river, or crashing waves, any type of liquid movement is a good
candidate for longer exposures.
 Long Exposures
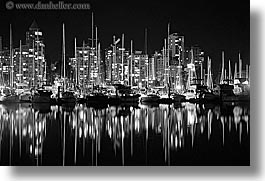
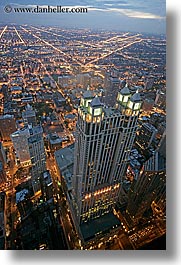
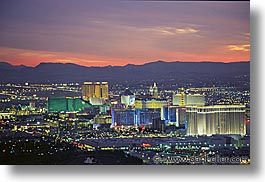
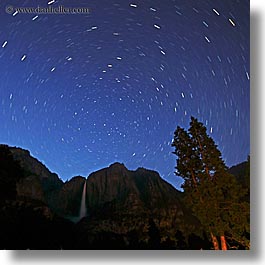
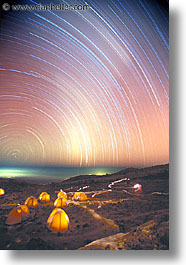
Long exposures are great for capturing cityscapes, like star trails,
moon-lit valleys and lightning. For this discussion, we'll only be
dealing with pictures shot at night, and where exposure times can last
from several minutes to many hours. (If you set your ISO rating high
enough, you can also get good night pictures with only a few seconds of
exposure. These may look nice in small format, but digital noise from
most cameras will probably yield poor results if you blow them up to
larger prints.) In all the cases discussed here, a tripod and cable
release are required (because you won't be able to keep your finger on
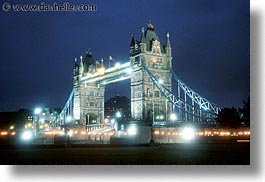
the shutter release without moving the camera). For this photo of the
Tower Bridge in London, I also used a "mist filter."
One of the first tricks people like to play with using night photography
is using exposures so long that the scene actually looks like a daytime
shot. The longer the exposure, the more "daylight" the picture will
appear to have. This only works for rural landscapes where there is either
no artificial light, or where the light can be turned off. Otherwise,
expended times will cause those lights to overexpose. The rest of the
scene is lit naturally by the moon, which fills the sky with sunlight.
(Remember, the moon is just reflecting sunlight, albeit at a reduce rate.)
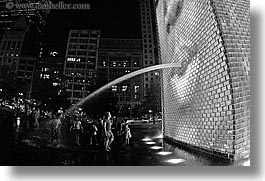
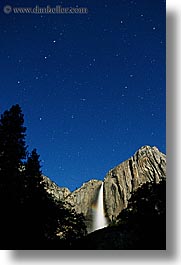
Night exposures of waterfalls are especially stunning, as shown by these
pictures of Yosemite Falls. Shorter exposure times not only capture the
night imagery well, but you can shoot more pictures than if you had to wait
around for the longer exposures.
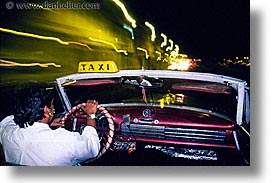
Whether shooting on a moving object, or from a moving object, using
a flash is very effective for freezing a moment in time, while also
capturing the motion. The flash imprints the foreground only
(because flashes are often limited to about ten feet), so its important
to compose the photo accordingly. So, do not expect the flash to capture
far-away objects. As for the foreground, even if other light happened to
be captured with the motion blur, chances are that the flash will be
more prominent. The taxicab photo is a good example of this, but other
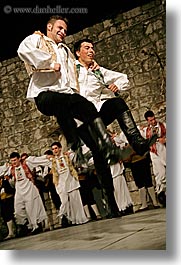
common uses are shooting bands in concert, or people dancing. The flash
will capture a still image, but the extended exposure (ranging from
1/8 of a second to several seconds) will add the necessary "movement"
feeling to evoke a sense of what's going on.
You can use flashes during long exposures creatively, for example, by going
inside a building and bursting the flash by hand. The trick is to
direct the flash away from the camera, but toward a wall or object that
faces it. (Again, remember the ten-foot rule—most flashes aren't strong
enough to illuminate objects further away.) You typically burst several
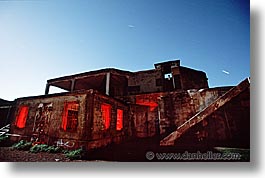
times from inside a structure to make it appear that its interior is lit.
The example here uses a flash covered by a red "gel" (over-sized filter).
These long exposures require some experimentation to get right, but the
effect is pretty, not to mention unique.
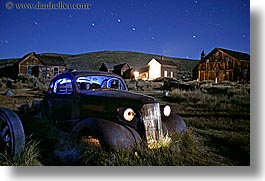
Given enough time and creativity, you can really go hog wild. For this
photo of the junker 1930's Buick, I placed a flashlight inside the car,
and gave it a blue gel. After a little while, I turned it off, and placed
it inside of each headlight of the car.
For larger spaces, or for use on building exteriors, consider buying one
of those mammoth-sized spot-lights at large home-improvement stores.
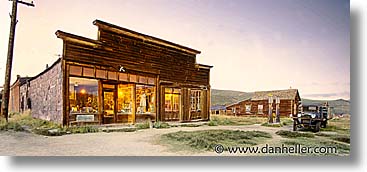
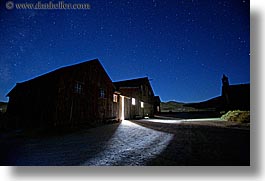
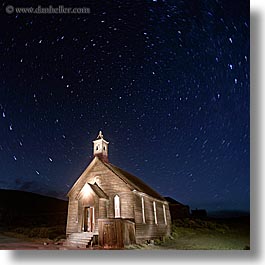
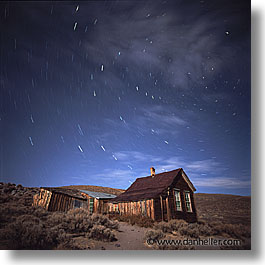
For the photo of a church in the Ghost Town of Bodie, California, I
"painted" the exterior of the church with a naked (no gel) spotlight just
as thought I had a real paintbrush. I "stroked" the building from top to
bottom with the spotlight, making sure the whole thing was covered. It
only took about 30 seconds to paint it, but the entire exposure was about
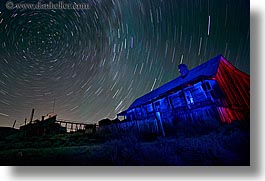
7½ minutes long. In the other photo, I painted each side of the
house with the spotlight, but this time, I used a red gel for one side,
and a blue gel for the front. the exposure time was well over an hour
and a half, but it only took two minutes to paint it with light.
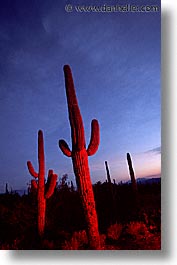
If you don't have a flashlight—or, at least, not a strong one—consider
the tail lights of your car. This is how I light the cactus in Tucson
Arizona.
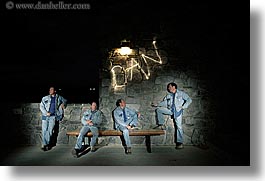
If you really get bored at 3am, try self-portraits! For this single
picture (lasting 54 seconds), I started by "writing" my name with a
small pen flashlight on the wall. Then I sat on the bench and had a
friend burst a normal camera flash my way. I did this four times in
total, as I moved from one side of the frame to the other. Again, this
sort of thing requires extensive experimentation, because it's hard to
know where to "be" so that you don't overlap yourself on top of yourself.
(It's a neat idea to try, but I found it doesn't really work.)
On the technical side, these techniques are no different than any other
form of extended exposure photography. The creative aspect is finding
interesting subjects and figuring out how (or whether) to light them.
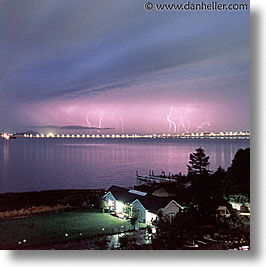
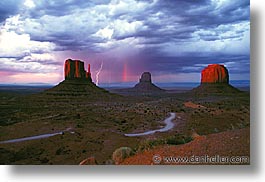
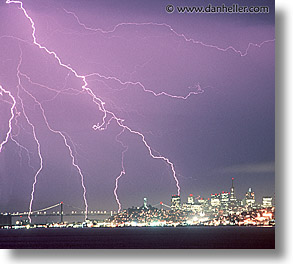
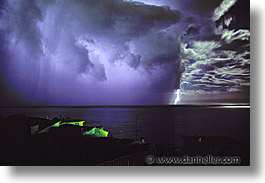
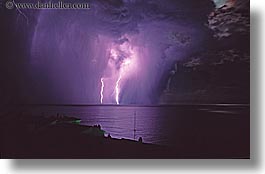
Speaking of bursting light onto a subject, there's nothing like using
nature herself to do the heavy lifting and adding the creative spin.
Obviously, lightning's dramatic effect is worthwhile, but don't just
set up your tripod in the direction of a lightning storm and hope to get
good shots. Compose as though you were photographing any landscape,
whether a cityscape or a natural backdrop. I just set the camera up
(where it wasn't raining), pressed the button on the cable release, and
waited anywhere from 5-10 minutes, depending on whether (or how much)
lighting would strike. Metering for exposure times is similar to that
of fireworks. The frequency of the lightning will affect the overall
exposure, and there are no guidelines (other than experimentation)
for how much exposure time you should allow.
 Using Film
There is still a large community of people who use film for long
exposures, and for one good reason: the batteries in digital cameras
don't last during very long exposures (like star trails). So, many
photographers use film because those cameras use very little (if any)
power. There is one issue, however, that almost all film suffers from:
reciprocity failure.
Chemicals in the film react to light proportional to the amount of light
exposed to it. That is, they "reciprocate" the light. Reciprocity
Failure simply refers to when the film fails to produce an image that
represents the light that was projected onto it. Simply put, the longer
the exposure, the more you have extend the time your camera meter says to
get the correct image on the film. This is easiest to see in black and
white film: if you meter a scene that shows a proper exposure of 1 second
at f8, then doing the math, you should be able to double the time and the
apertures to yield exactly the same picture: 2 seconds at f16, 4 second
at f/32, and 8 seconds at f64. All of these should produce precisely the
same image. However, for some films, "reciprocity failure" begins to
emerge gradually as those exposure times increase, which may require
(for example) extending the time exposure, even though the meter doesn't
say it should. For example, doubling of time to 16 seconds at f64 to
get the same result you should have gotten using 8 seconds.
What's going on is that the chemicals in film don't react to light
consistently across time. This doesn't happen during short shutter
speeds—those used during typical daytime photography, which explains why
most people don't see this. Even at longer shutter speeds, the degree of
failure tends to be minimal and people overlook it. (It's also easy to
fix in the printing process, so it's rarely a concern.) However, as the
during of time expands to longer and longer exposures, the film begins
to fail more dramatically, so you need to add more time than you think
you should, just to get the picture you want.
For black and white film, it's simply a matter of extending the duration
of time. However, color film is more complicated because it has more than
just one chemical: it has at red, green and blue to deal with as well.
(In fact, most films have more, but you get the idea.) Here, the reciprocity
failure affects all of these chemicals, and, making things worse, they all
react to light differently than one another. As it turns out, reds and blues
failure much more quickly than green, causing long exposures tend to look
very green. The longer the exposure, the more out of sync these colors
appear to be.
Different films use different chemicals for colors, and some films
add more "stabilizing" chemicals than others to reduce this effect
somewhat. So, while every film "can" suffer from some degree of
reciprocity failure, not all are equal, so there is no uniform way to
solve the problem across the board. Those who shoot Fuji Velvia 50,
for example, has a much more dramatic problem with "green shift" than
Provia 100F does.
Because film's reciprocity to light fails gradually over time, and
because different film types (and even similar films from different
manufacturers) also vary, it's impossible to predict the final result
from any given picture. You can use colored filters to "help" correct
the problem, but the inconsistency of the films and the filters mean that
you're never going get precisely a color-balanced shot like the pictures
you see here. Whenever you correct for one color, you throw off another.
The goal, therefore, is to find the filter that approximates your picture
as closely as possible—finding that middle ground—at which point,
you have to correct images digitally, where you can individually
manipulate each of the red, green and blue hues in the overall picture.
One might think that, if you're going to fix it in Photoshop anyway,
why bother with filters? The reason is that fixing colors digitally
is just as imprecise as using colored filters: you change one color,
you affect the others too. You get much better results and the process
is easier if you start with colors that are as close to "correct" as you
can get, and then go from there. Which leads us to a discussion of filters.
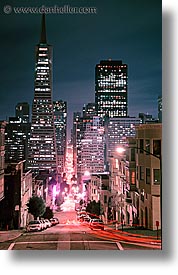
The FL-D filter is normally used to correct for the green hue from fluorescent
lights. However, I use it to correct for mild reciprocity failure in some
moderately long exposures using slide film. For longer exposures, FL-Ds
are often not enough to correct the green as necessary, so I move to a
30cc Magenta filter, as shown in the Night photo of Montgomery and Green
Streets in San Francisco. The fluorescent lights in the buildings are
white, but the purple-ish hue affects the otherwise correctly lit areas
of the scene. Using Photoshop, one can correct for this, but this raw
image gives a better sense of you'd get without any correction.
Choosing the best filter can be done, but it could be an effort of
futility to get perfect. Each film type has its own table for reciprocity
failure, which you can find this in the box that the film came in, or
you can look up on the web. Ironically, print film (negative) tends
to suffer less than slide film, and the blueness of Tungsten film also
doesn't have this problem that I've seen.
 More To Discover
To see more pictures using long exposures,
go here.
Click to recommend this page:
|
|
